Quick upgrade guide to XenApp 7.11 and XenDesktop 7.11
This is a quick upgrade guide to XenApp 7.11 and XenDesktop 7.11. Many still live by the rule to upgrade from current XenApp or XenDesktop solution to a fresh new version, instead of doing an upgrade. In my case, I will show you the easiness of upgrading from XenApp 7.9 / XenDesktop 7.9 to version 7.11. With the upgrade wizard introduced some versions ago from Citrix, this has become really simple and secure to do… Also, if you are on the Current Version release program from Citrix updates come along several times a year…
Here is a quick guide for upgrading from XenApp 7.11 / XenDesktop 7.11 ( I use XenDesktop 7.11 Platinum to get all features…) But, the upgrade process is the same for both versions!
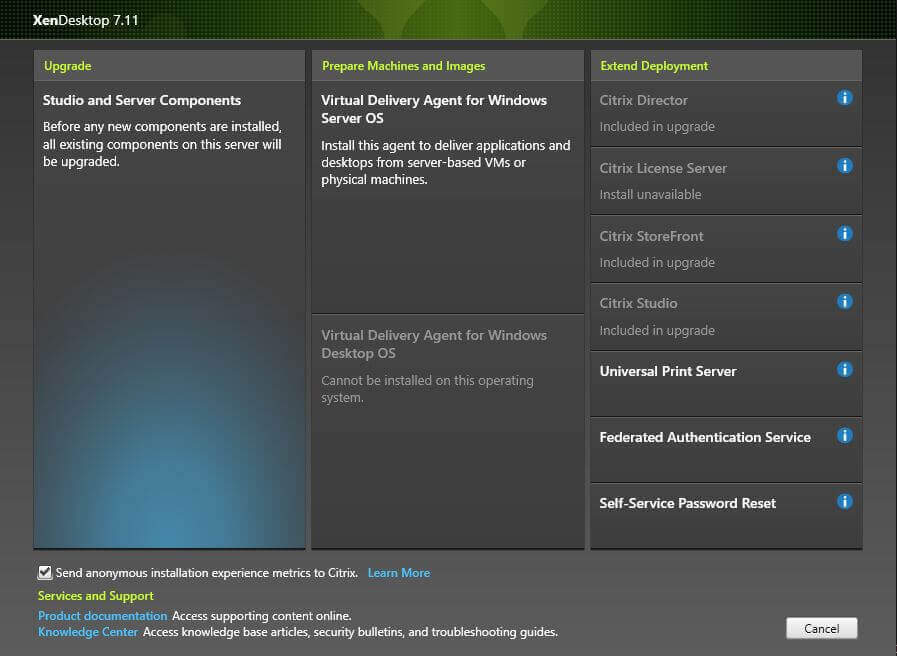
In my case, I have already done a VM snapshot of the XenDesktop Controller + SQL Server for backup, in case something does not work out the way it should! When you are ready to proceed click on Upgrade Studio and Server Components
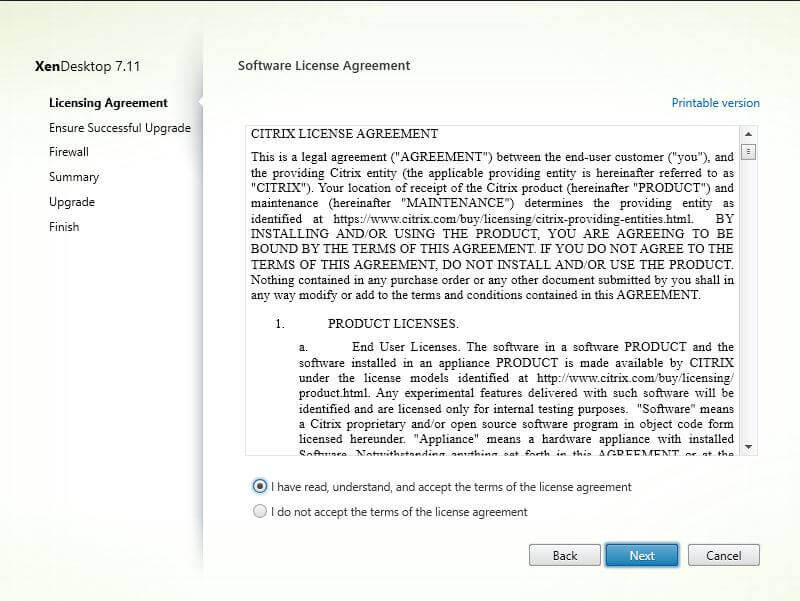
Next Agree to the SLA and hit Next
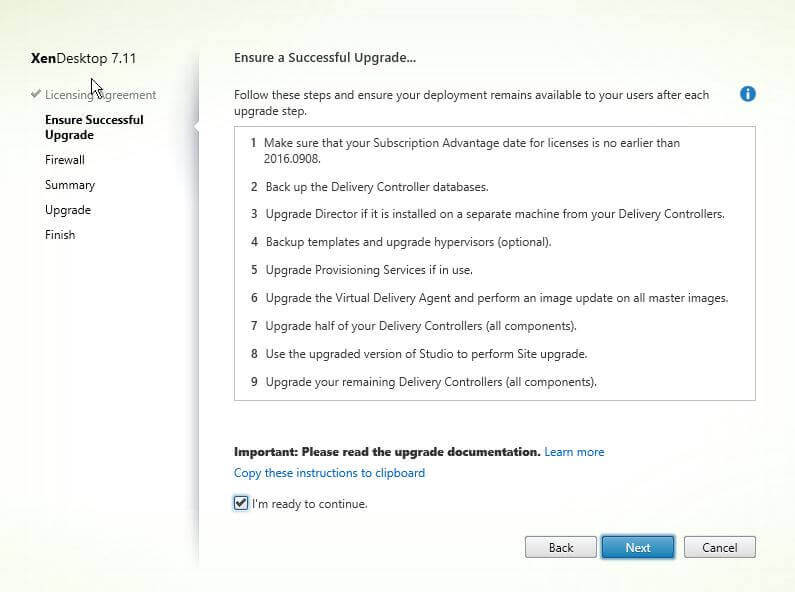
Take note of all the 9 points in the upgrade wizard!!! DO NOT PROCEED IF YOU HAVE NOT CHECKED ALL 9 ITEMS! You might just end up with a solution that does not work! Use any backup means you have or snapshot the current versions! When you are READY hit Next
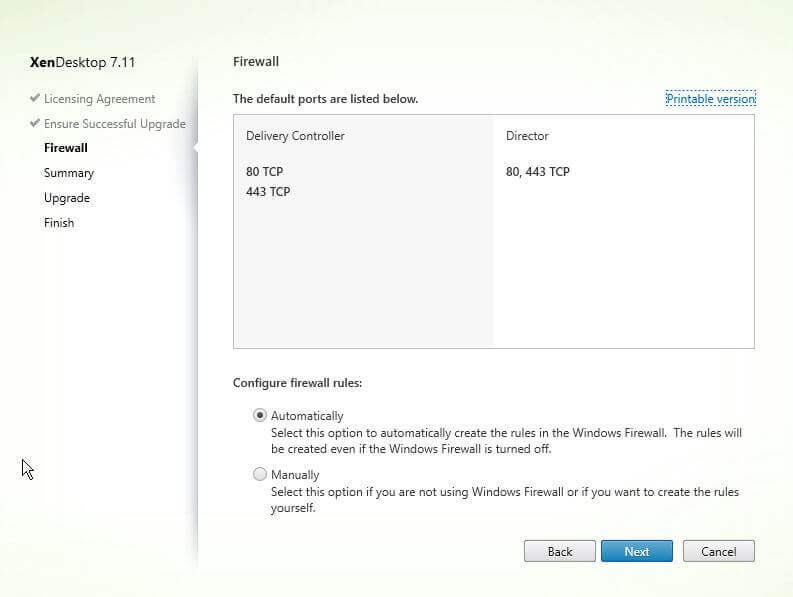
In my case I will let the wizard take care of the Firewall config, if you have any manuel settings, have changed the port range for any reason, then hit Manually – IF NOT DO LIKE ME and choose AUTOMATICALLY and hit NEXT!
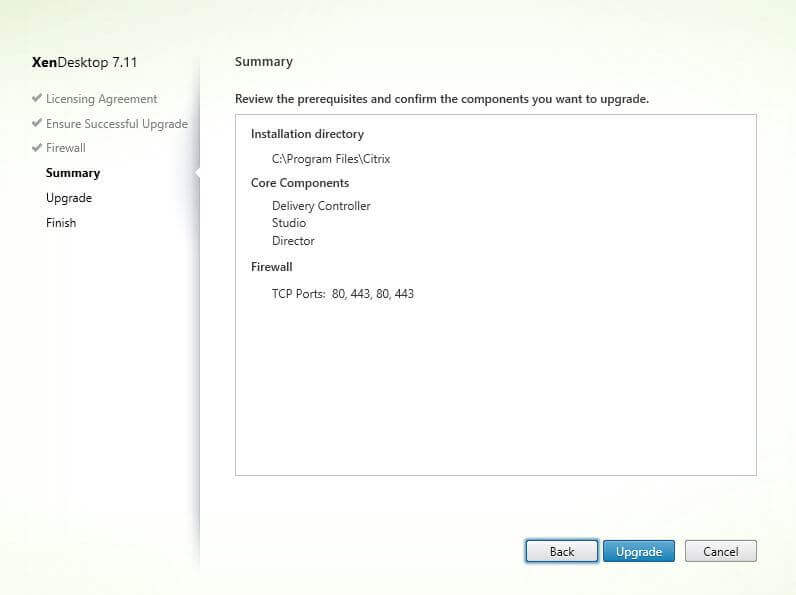
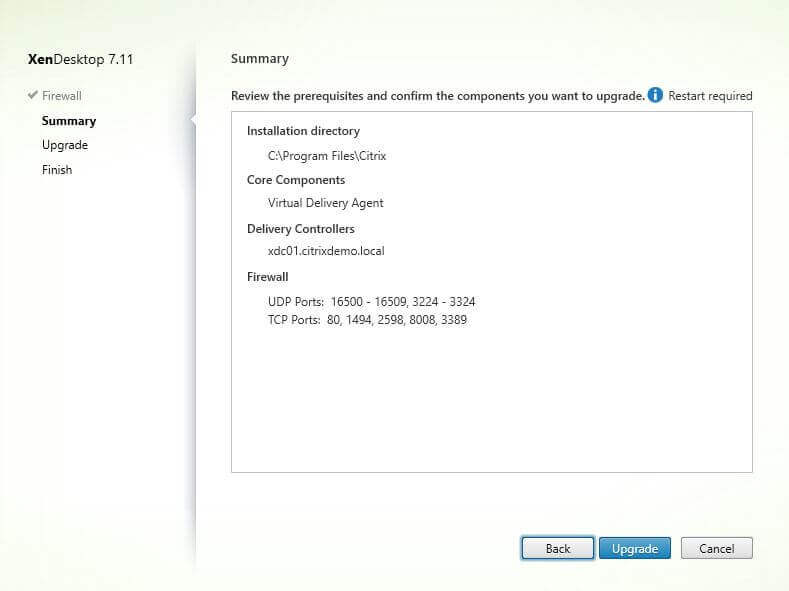
Review the options selected and hit UPGRADE – the process will begin!
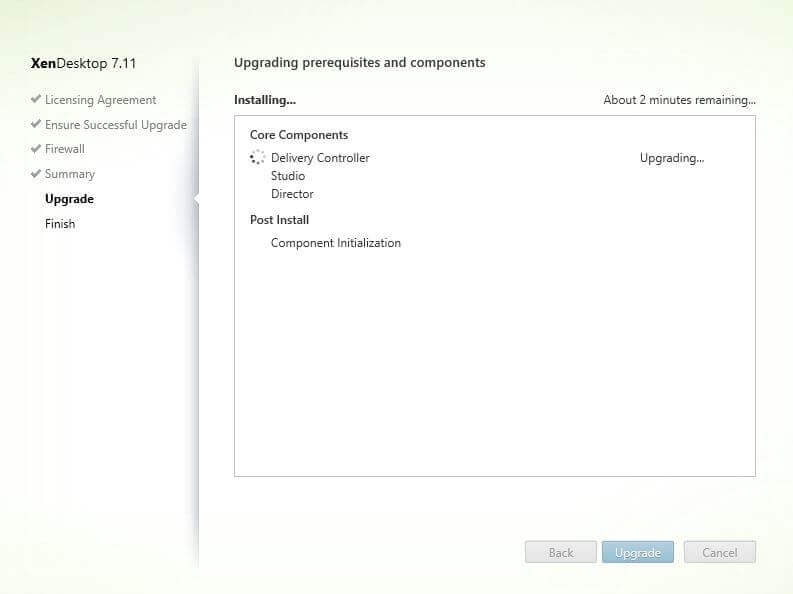
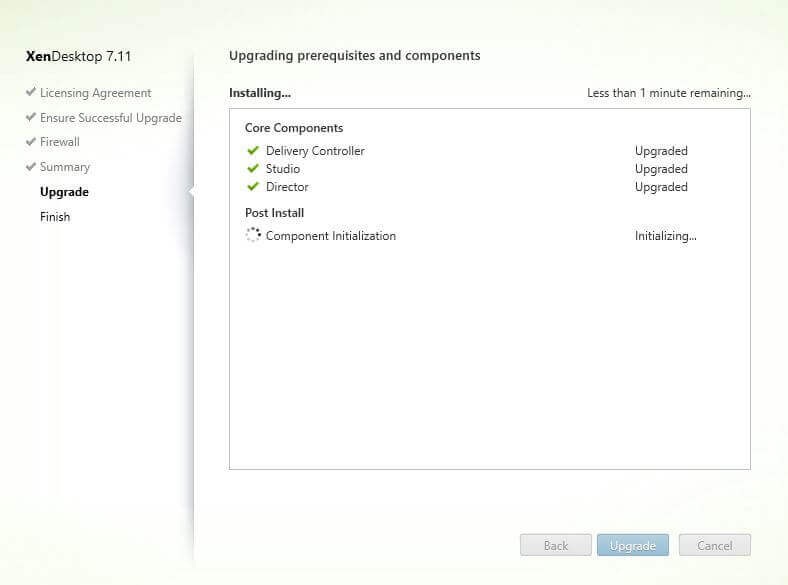
A progress and time remaining will be shown in the Wizard to track progress – It can also occur that you will be prompted to do a Restart of the server.
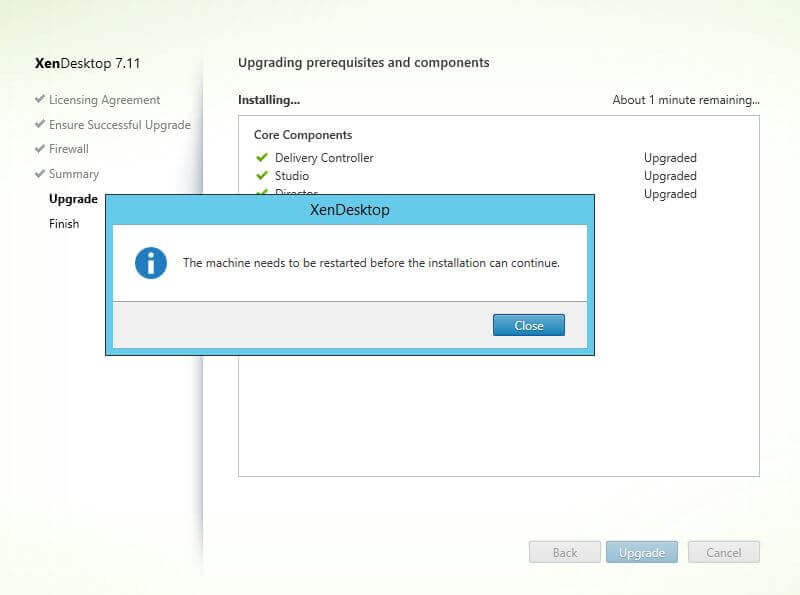
Hit Close if prompted 🙂 The server will reboot!
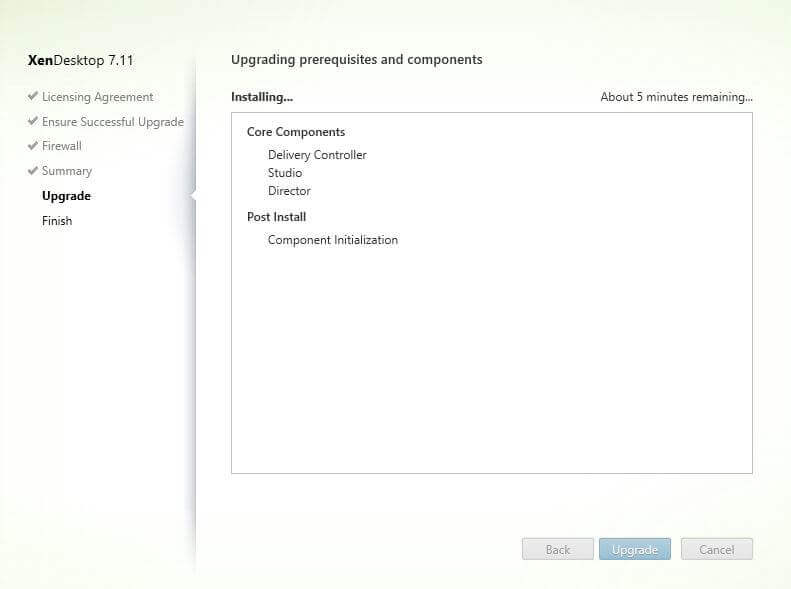
After the reboot and after you login again with the same user used to start the Upgrade Wizard, the upgrade wizard will continue!
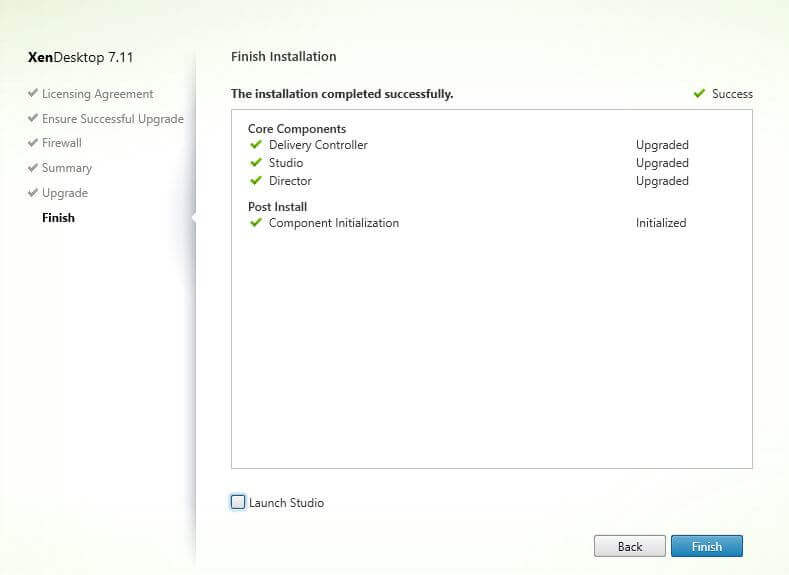
Wait for it to finish…
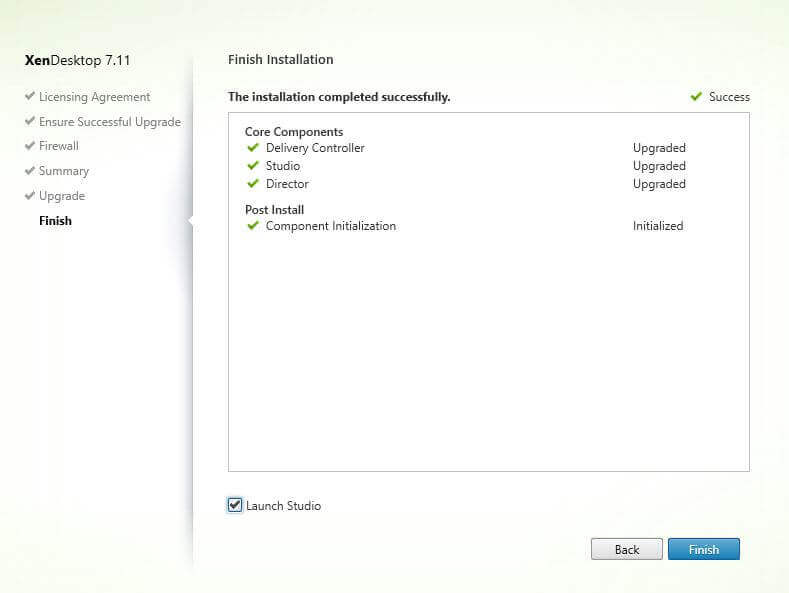
Hit Launch Studio check box and then Finish
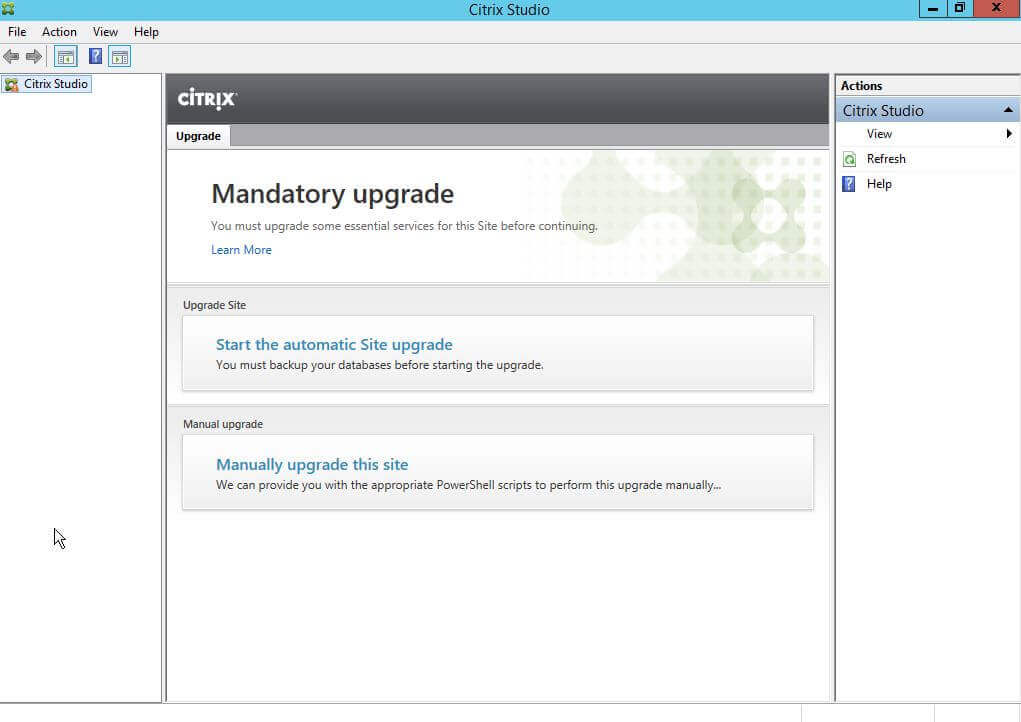
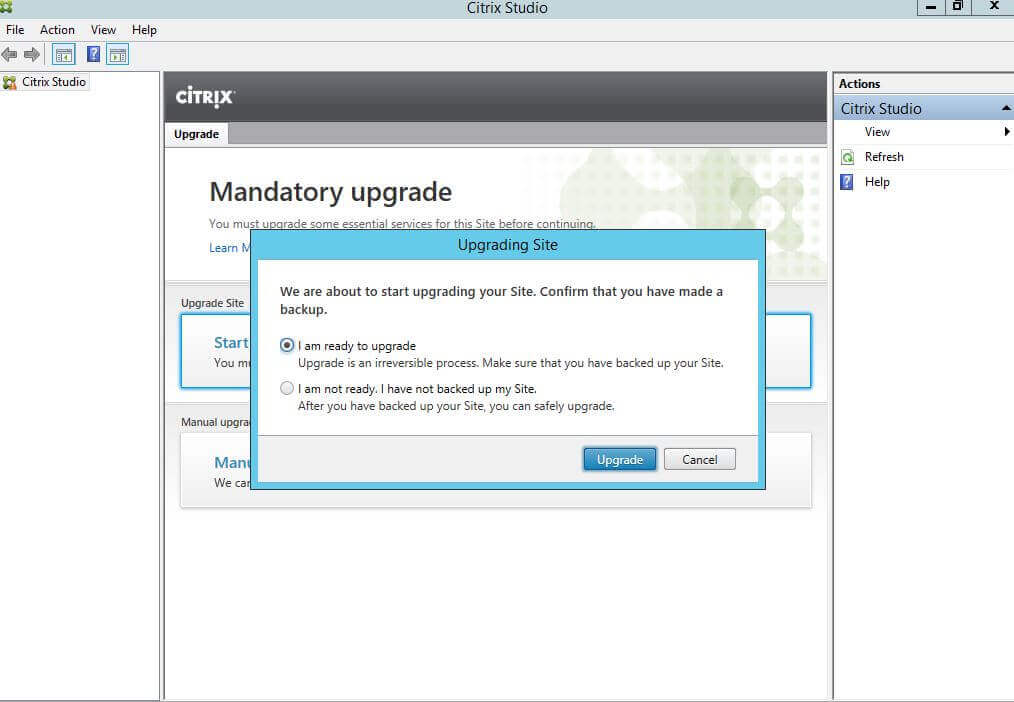
Mandatory Upgrade – Choose Start the automatic Site upgrade
Again, if you did not do a backup, then NOW IS THE TIME!!! After this point, the SQL Database will be upgraded! Hit Upgrade when ready!
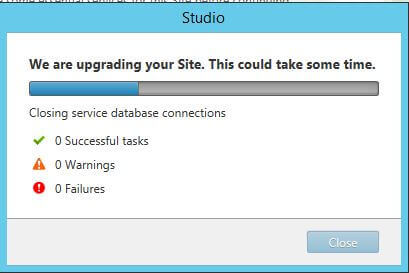
It will run for a while, depending on the size of things 🙂
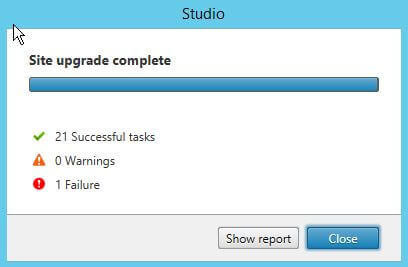
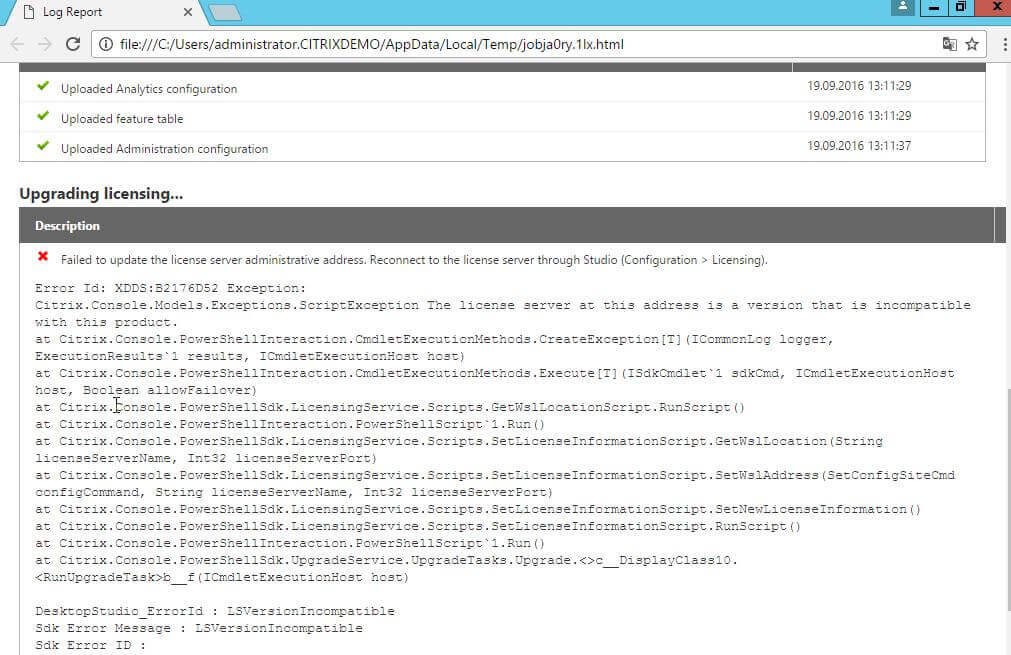
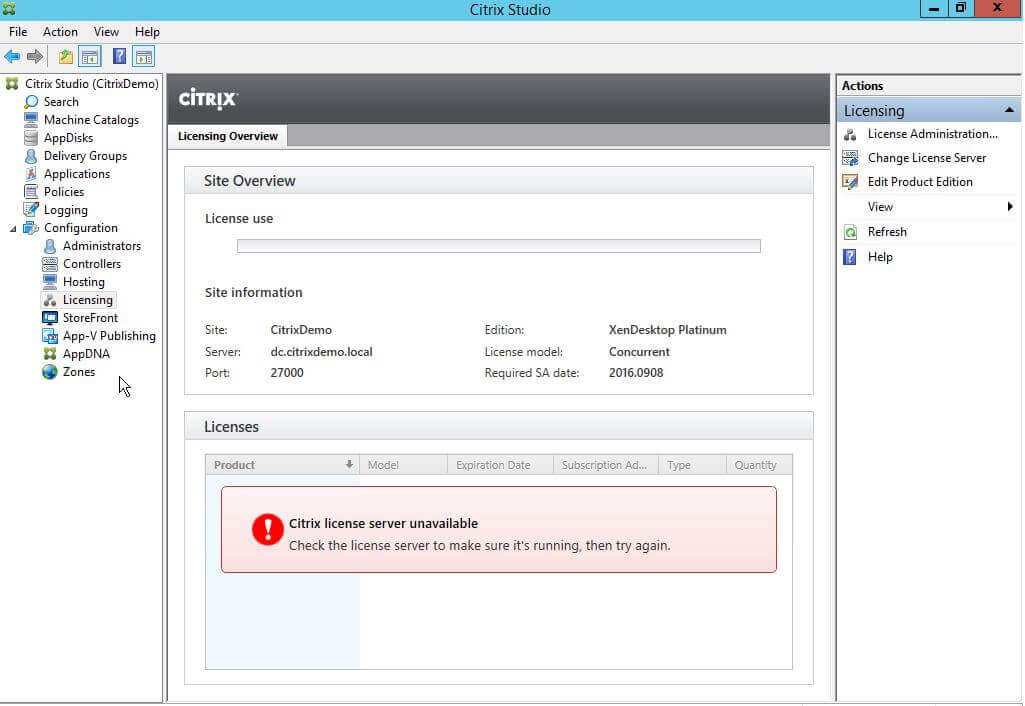
Review the Report by hitting Show Report – the 1 Failure in my case is that I did not do a Citrix License Server upgrade before running the wizard, hence it fails on a minor license fetch… no big issue in my case! Will do it later!
Report showing the failure… no really danger here… in my case…
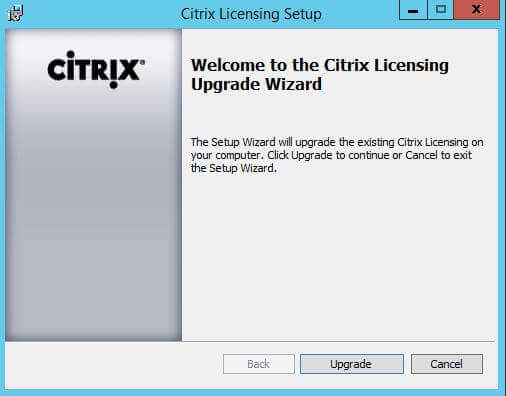
So, I head over to my license server and upgrade it… by mounting the ISO and finding the Citrix License Server setup files… Hit Upgrade to move on…
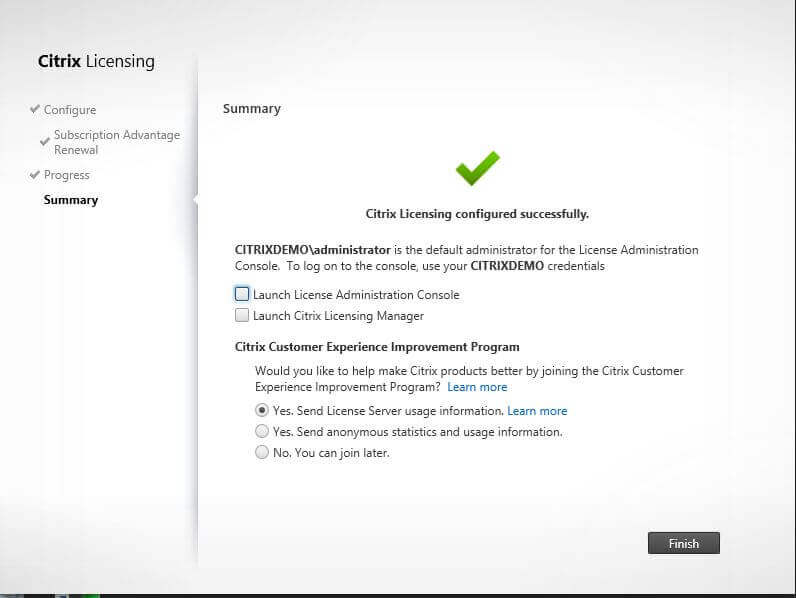
After the license server has finished, you get some new options… when done reviewing hit Finish
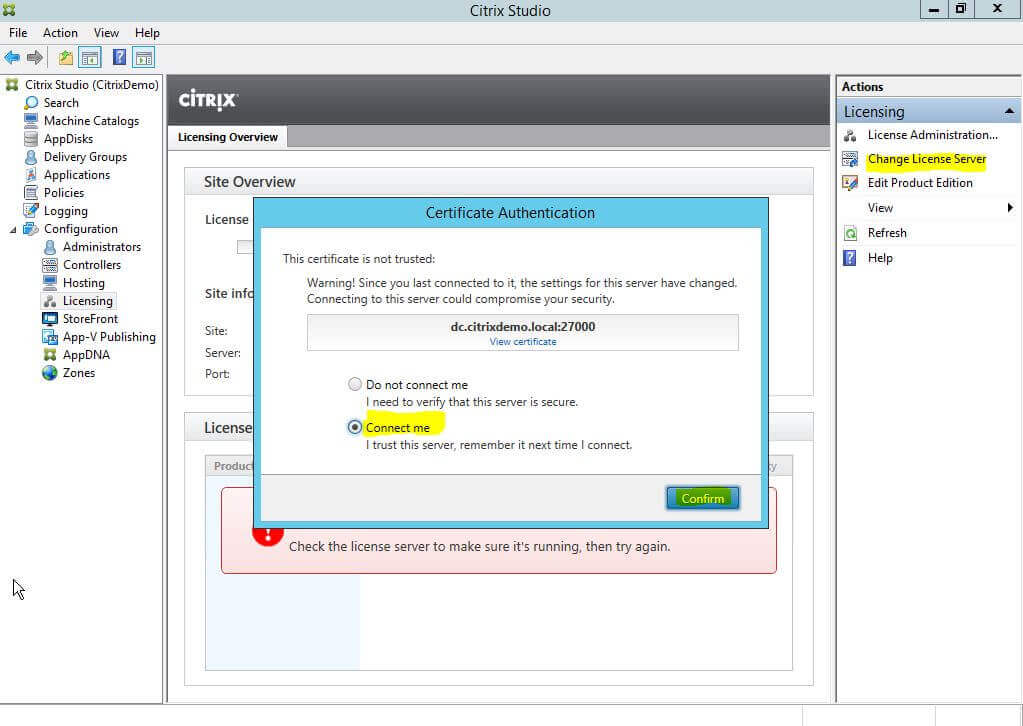
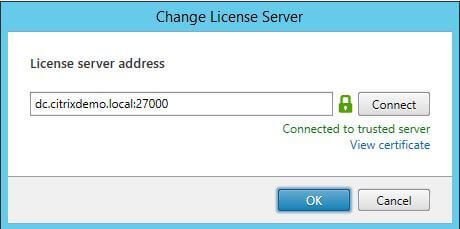
Now, this is the part that failed during the setup, I did this part on purpose because I get a lot of customers sending me questions about this part… only thing we need to do is to re-connect the Citrix License Server with the First Delivery Controller that we upgraded! So, choose Change License Server
Choose Connect Me
When done, hit OK
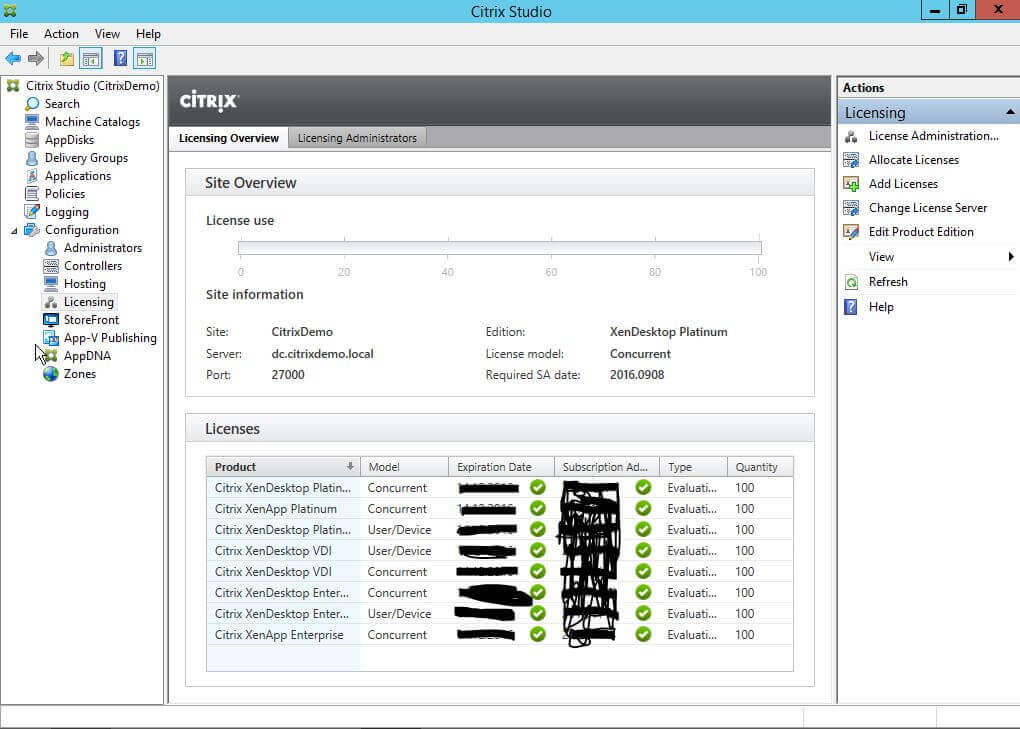
If successful you will see all your licenses like the picture above… Your Delivery Controller is now successfully upgraded to version 7.11
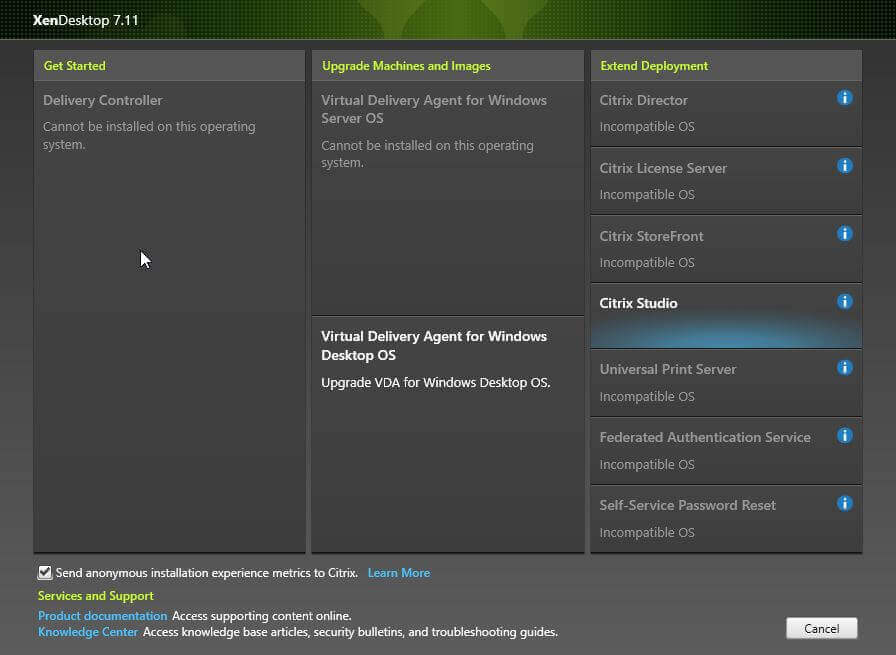
Now let’s upgrade one of my Windows 10 VDI’s as well with the 7.9 VDA installed.
Same option here, Choose Virtual Delivery Agent for Windows Desktop OS
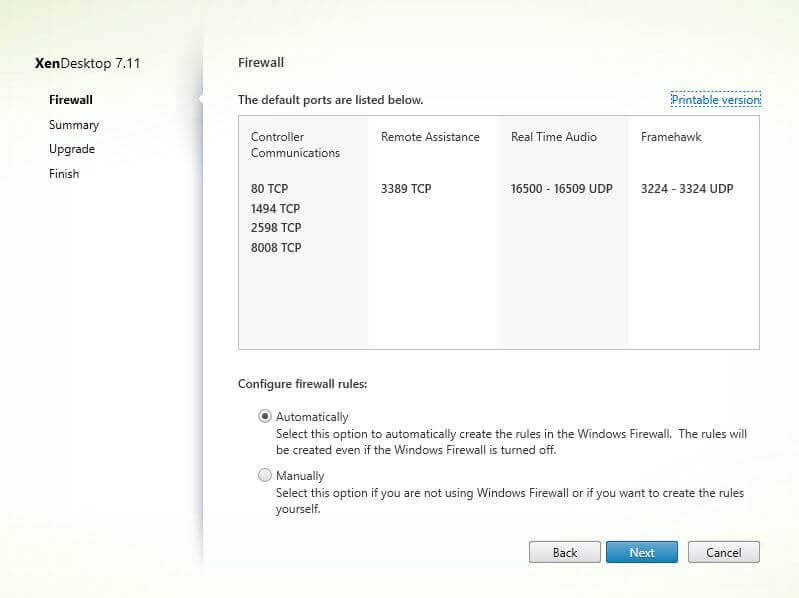
IF you for some reason have changed the built in Windows Firewall settings, please do Manually otherwise go with Automatically and hit Next
Review and hit Upgrade if ready!
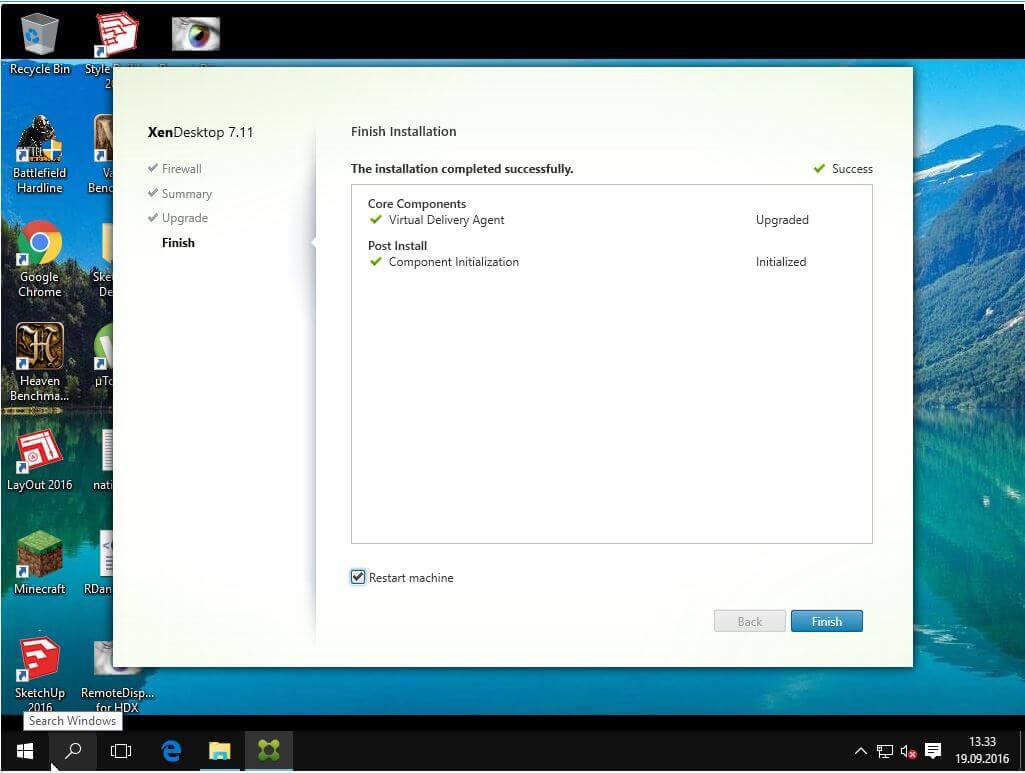
If all goes according to plan, it will look like this and require a reboot – hit Finish
That concludes the quick upgrade guide for XenApp 7.11 or XenDesktop 7.11

